The short version
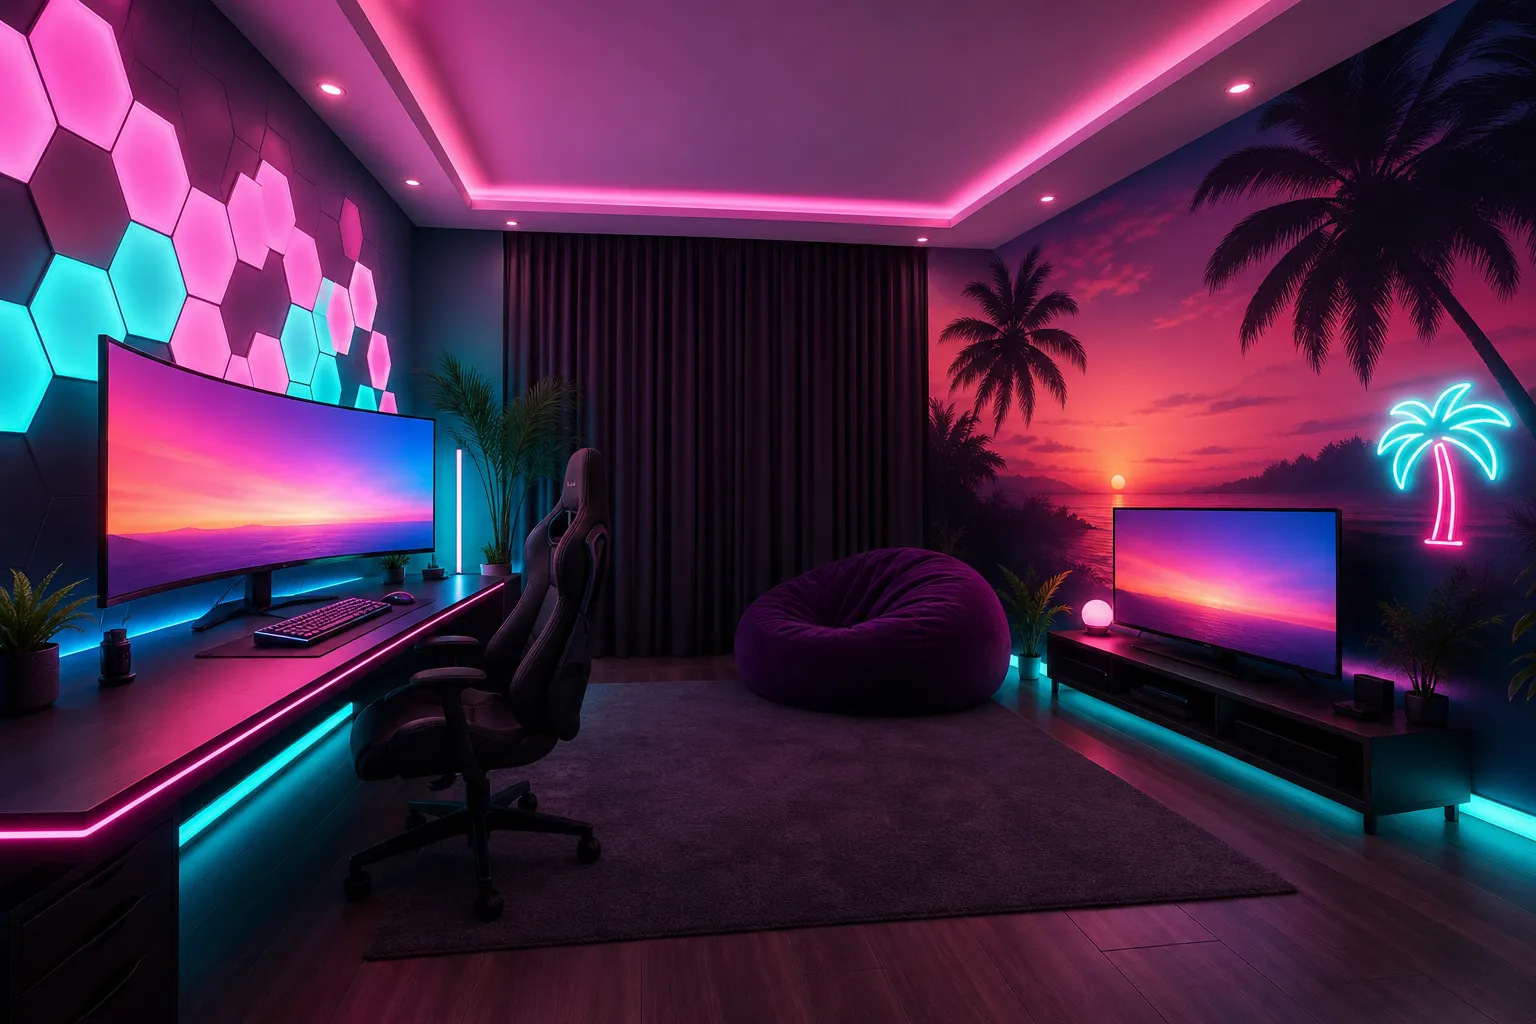
Under $500, spend the biggest chunks on two things: lighting that reacts to your screen and a feature wall piece. Then use the rest on a good task light, a room-wash strip and one or two peripherals in your color palette. Cable management matters more at this level than at any other, because more gear means more wires.
How to split $500
A starting point, in price bands:
- Screen-sync lighting kit (camera or HDMI based): $100–200.
- Wall panels or a large neon-style sign: $100–200.
- Monitor light bar: $50–100.
- RGBIC strip for the ceiling line or shelves: $25–50.
- Keyboard or headset in your colorway: $50–100.
- Desk mat and cable management kit: under $25 each.
If you game on a TV rather than a monitor, screen sync is the most noticeable upgrade. If you’re mostly at a desk, consider shifting money from screen sync to a better keyboard, mouse or chair accessories.
Screen-sync lighting, explained
Screen-sync kits make the light behind your TV or monitor follow what’s on screen, so a sunset in a game spills onto the wall. There are two common types:
- Camera-based: a small camera sits on top of the screen and reads the colors. It works with any source (console, PC, streaming stick) but needs good positioning and works best in a dim room.
- HDMI sync box: the video signal passes through a box that reads colors directly. It’s generally more accurate, but check that it supports your console’s resolution and refresh rate, and whether features like HDR or variable refresh rate pass through. This varies by model, so read the listing carefully.
Either way, keep sync brightness modest. Very bright, fast-changing light behind a screen gets tiring.
Building the room in layers
- Behind the screen: screen-sync or bias lighting, dim and even.
- On the desk: a monitor light bar in warm or neutral white, so you can see your keyboard without lighting the whole room.
- On the walls: an RGBIC strip along the ceiling line or behind furniture, running a slow gradient in your two main colors.
- Focal point: wall panels or a neon-style sign where your eye (or camera) lands.
- Gear: a keyboard, mouse or headset in the same palette ties the desk into the room.
Keep it cohesive
The difference between a $500 room that looks great and one that looks busy is consistency:
- Choose a two-color palette plus a bridge (for example pink and teal with purple between) and set every light to it.
- Prefer one lighting brand or one smart-home platform so scenes switch everything at once.
- Make a few saved scenes: “game” (dim, saturated), “chill” (warm and soft), “work” (task light up, color down).
- Match peripherals by color rather than by RGB. A white or pastel keyboard under pink light can look better than another rainbow keyboard.
Brightness and comfort
- Your screen should stay the brightest thing in your view.
- Keep ambient lights around 30–60% at night.
- Avoid fast flashing effects for everyday play. Save them for parties, and skip them entirely if anyone in the house is sensitive to flashing light.
Renter-friendly mounting
- Clean surfaces with isopropyl alcohol and let them dry fully.
- Use painter’s tape under strip adhesive on painted walls.
- For panels and signs, use removable mounting strips rated well above the item’s weight, or a single small nail where your lease allows. Some signs hang from a hook, which is the easiest to remove.
- Test any adhesive on a hidden patch of wall first, especially on matte or fresh paint.
Cable management for a bigger setup
- Under-desk cable tray: holds the power bar, adapters and spare cable length in one place.
- One cable path: bring everything down a single desk leg, wrapped with a cable sleeve or hook-and-loop ties.
- Wall runs: paintable stick-on cable channels for wall panels and signs, running straight down to the outlet.
- Label adapters so you can unplug the right thing later.
- Leave slack near the console or PC so you can pull it forward without unplugging the lighting.
Power and safety
- Add up how many outlets you need before you buy. A screen-sync kit, panels, strips, a light bar, a console and a monitor can easily need eight or more.
- Use a surge-protected power bar or two, plugged directly into the wall rather than into each other.
- Keep power bricks out in the open, not under carpet or wrapped in fabric.
- Don’t exceed a strip’s rated length on one power supply, and only cut at the marked lines.
- Buy lighting with clear certification info such as UL, ETL or CSA.
Check compatibility first
Before you buy, confirm that:
- Screen-sync kits support your TV size and your source (console, PC or streaming device).
- Keyboards and headsets list your platform. Some wireless headsets only fully support one console family.
- Lighting apps work on your phone’s operating system and with any voice assistant you use.
Where to go from here
With the room built, future upgrades get small and specific: a streaming backdrop, a better chair, or seasonal color scenes. For the theory behind the colors, see the pink and teal guide, and for specs, see the best LED lights guide.